

Web3 Hackathon 101: How To Not Expose Your Private Key / Mnemonic Phrase
Are you going to participate in a web3 hackathon? Avoid this tragic mistake when pushing your code to GitHub!


Why You Should Be Careful at Web3 Hackathons
This is advice for developers who need to utilize a crypto wallet to deploy, test, and interact with the DApps they build during a hackathon.
If you are a developer who is participating in a web3 hackathon soon, you need to be careful to not accidentally expose your mnemonic phrase or private key in your code when you push to a public GitHub repository.
There are bots that are constantly scraping GitHub repositories in search of private keys and mnemonics that blockchain developers accidentally upload. You do not want to be dealing with a crypto crisis during a hackathon!
Luckily, there are precautions and procedures we can follow to ensure this doesn’t happen.
Get Started
Let's go over the steps to ensure you never accidentally expose your private key or mnemonic phrase!
Assuming you already have a MetaMask wallet installed in your Chrome browser and this is the primary wallet from which you buy NFTs, send/receive crypto, and interact with DApps like Uniswap.
You don't want to use this same wallet for developing DApps because you risk exposing your secret information or accidentally spending real money while testing your DApp.
Therefore, it is advised that you create a brand-new wallet, which involves the creation of a new mnemonic phrase. This new wallet is known as a hacker wallet & it's only to be used for development purposes only. Do not buy crypto using this new wallet!
We can live the best of both worlds like Hannah Montana by having separate wallets for hacking and buying nfts.

Create A New Profile On Chrome
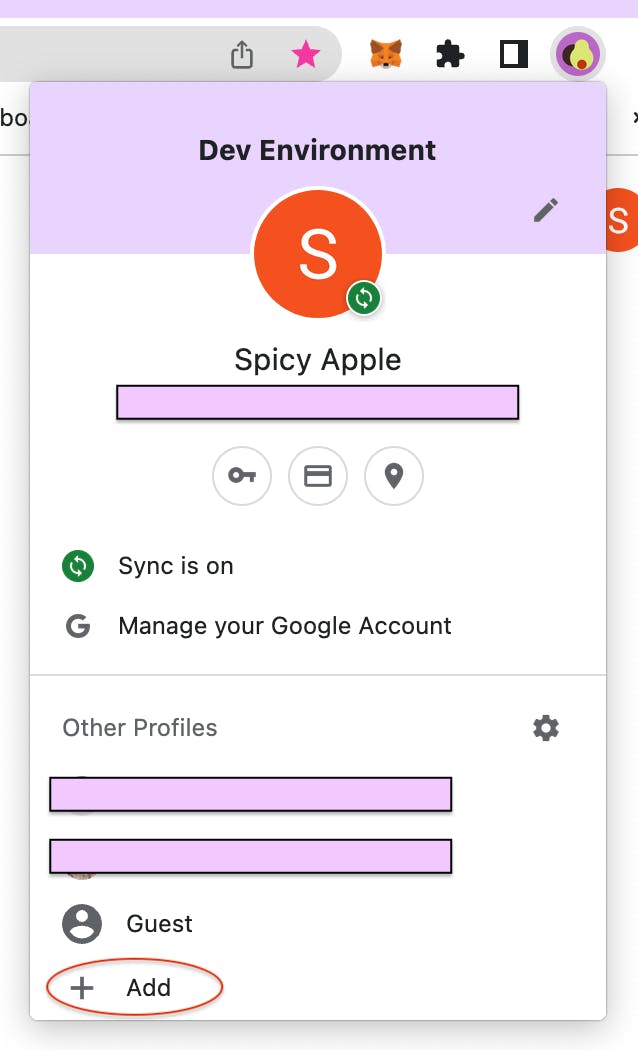
It is not possible to have two MetaMask wallets on your Chrome Profile. As a result, you must create a new Chrome profile. As you can see, I currently maintain three profiles, each for different purposes:

The Chrome Profiles you create are independent of one another, and each time you create one, it's a clean slate.
1) Click on your current Chrome Profile and then on "Add."
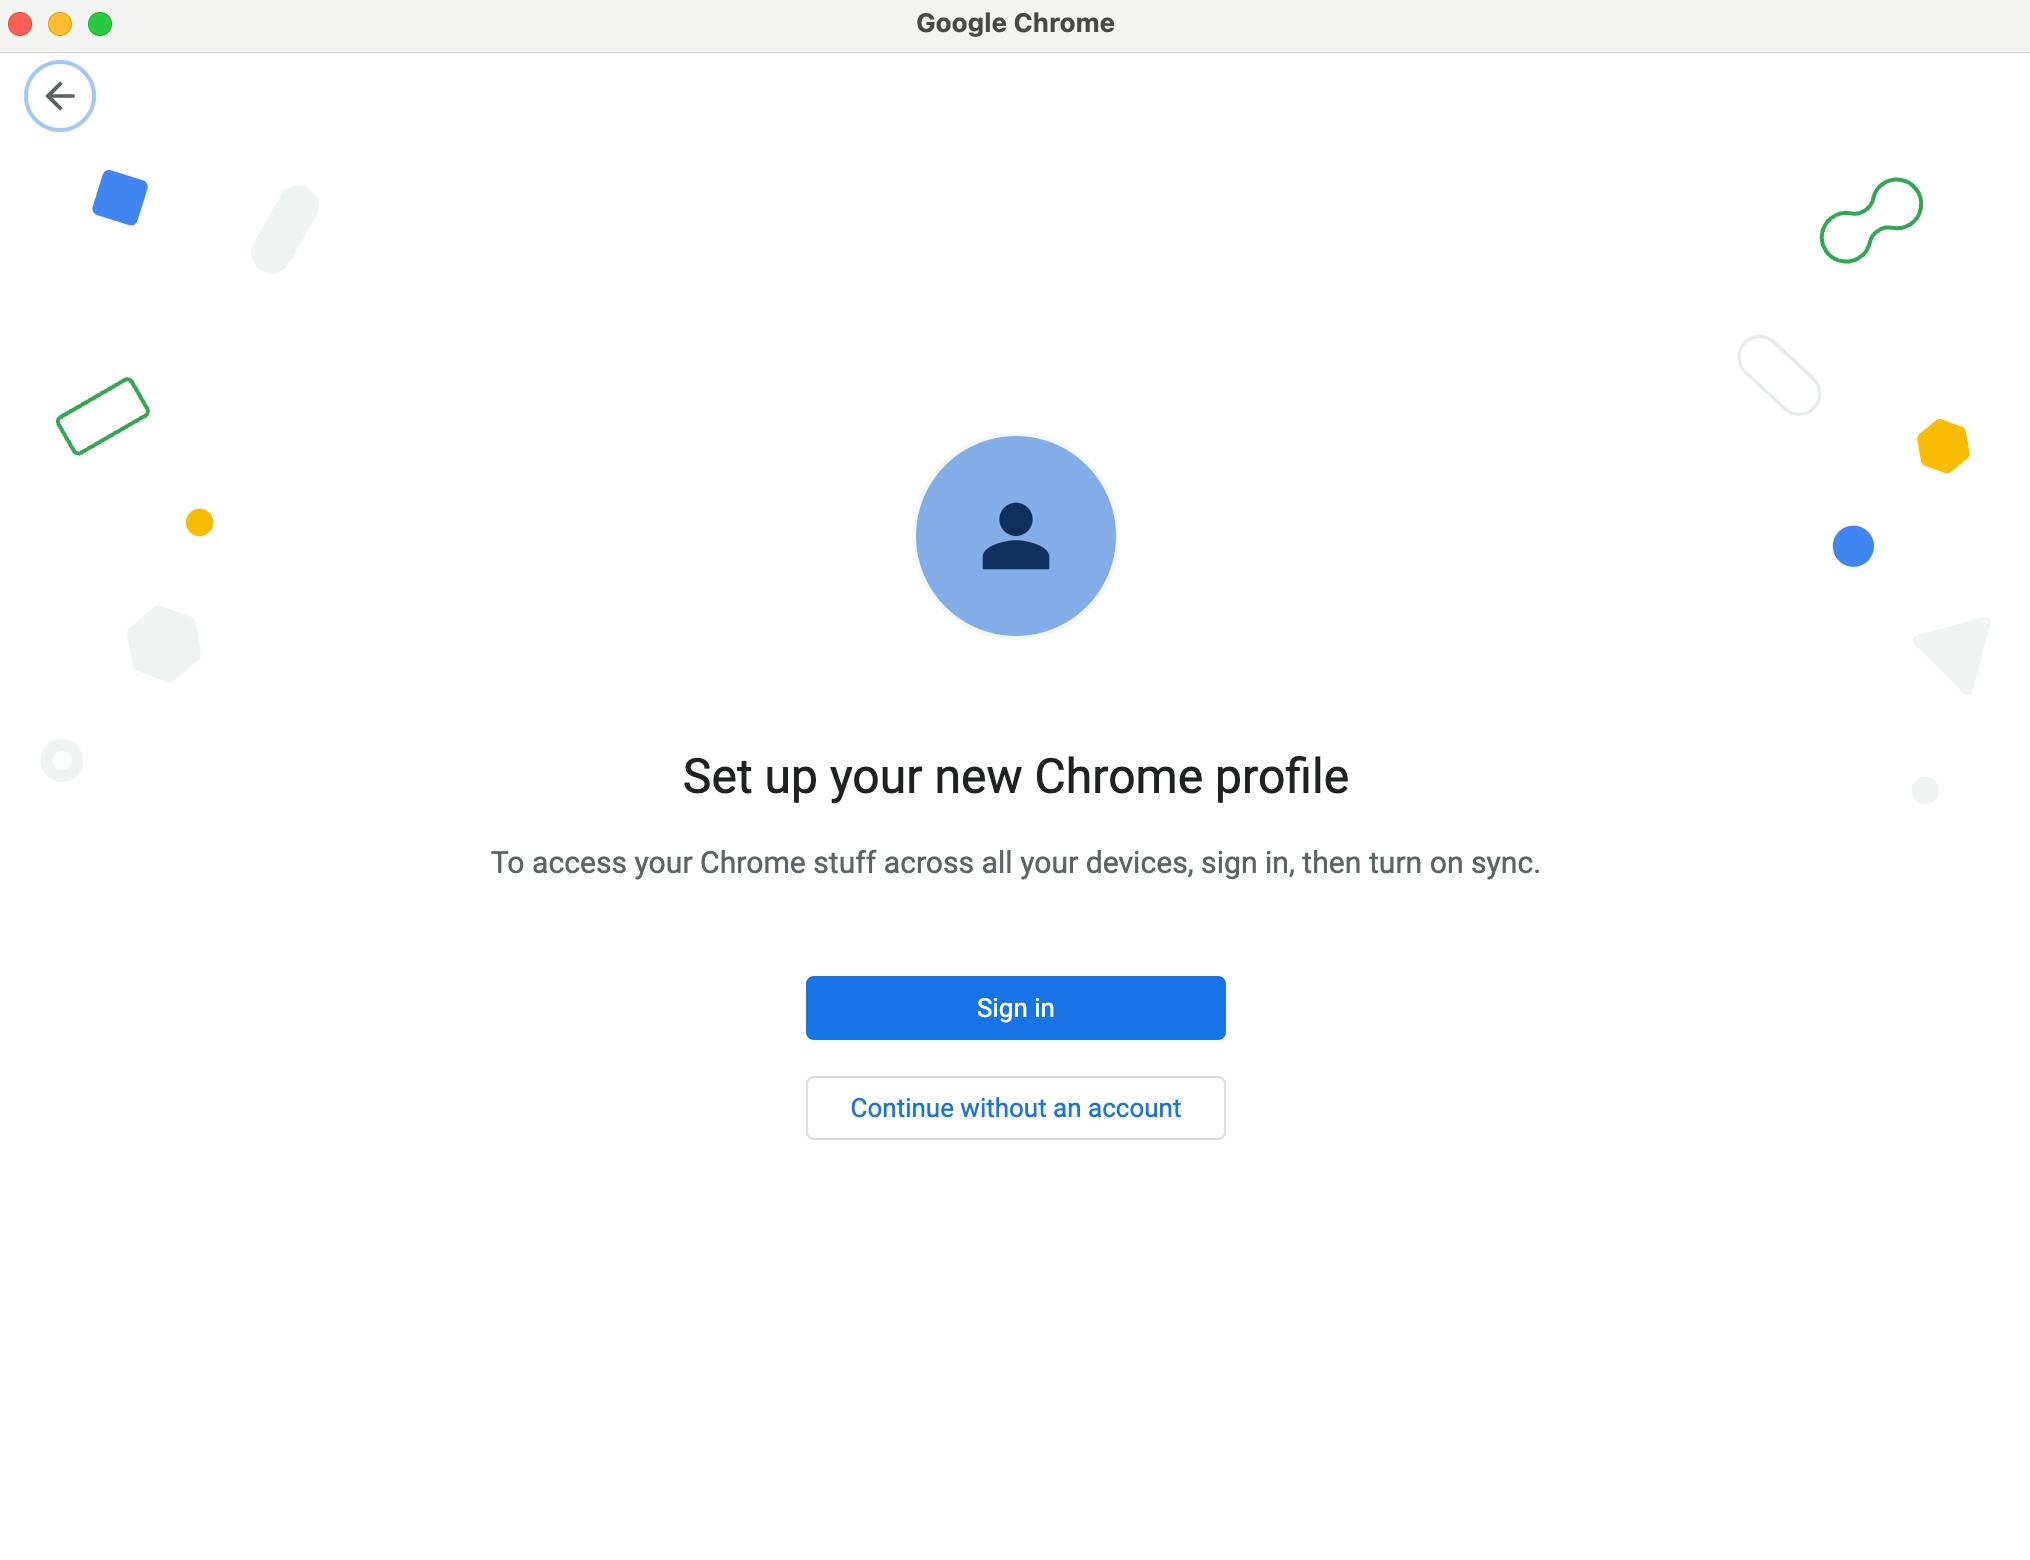
2) It will prompt you to create a new Chrome Profile; click "Continue without an account" to proceed.
3) Customize your profile.
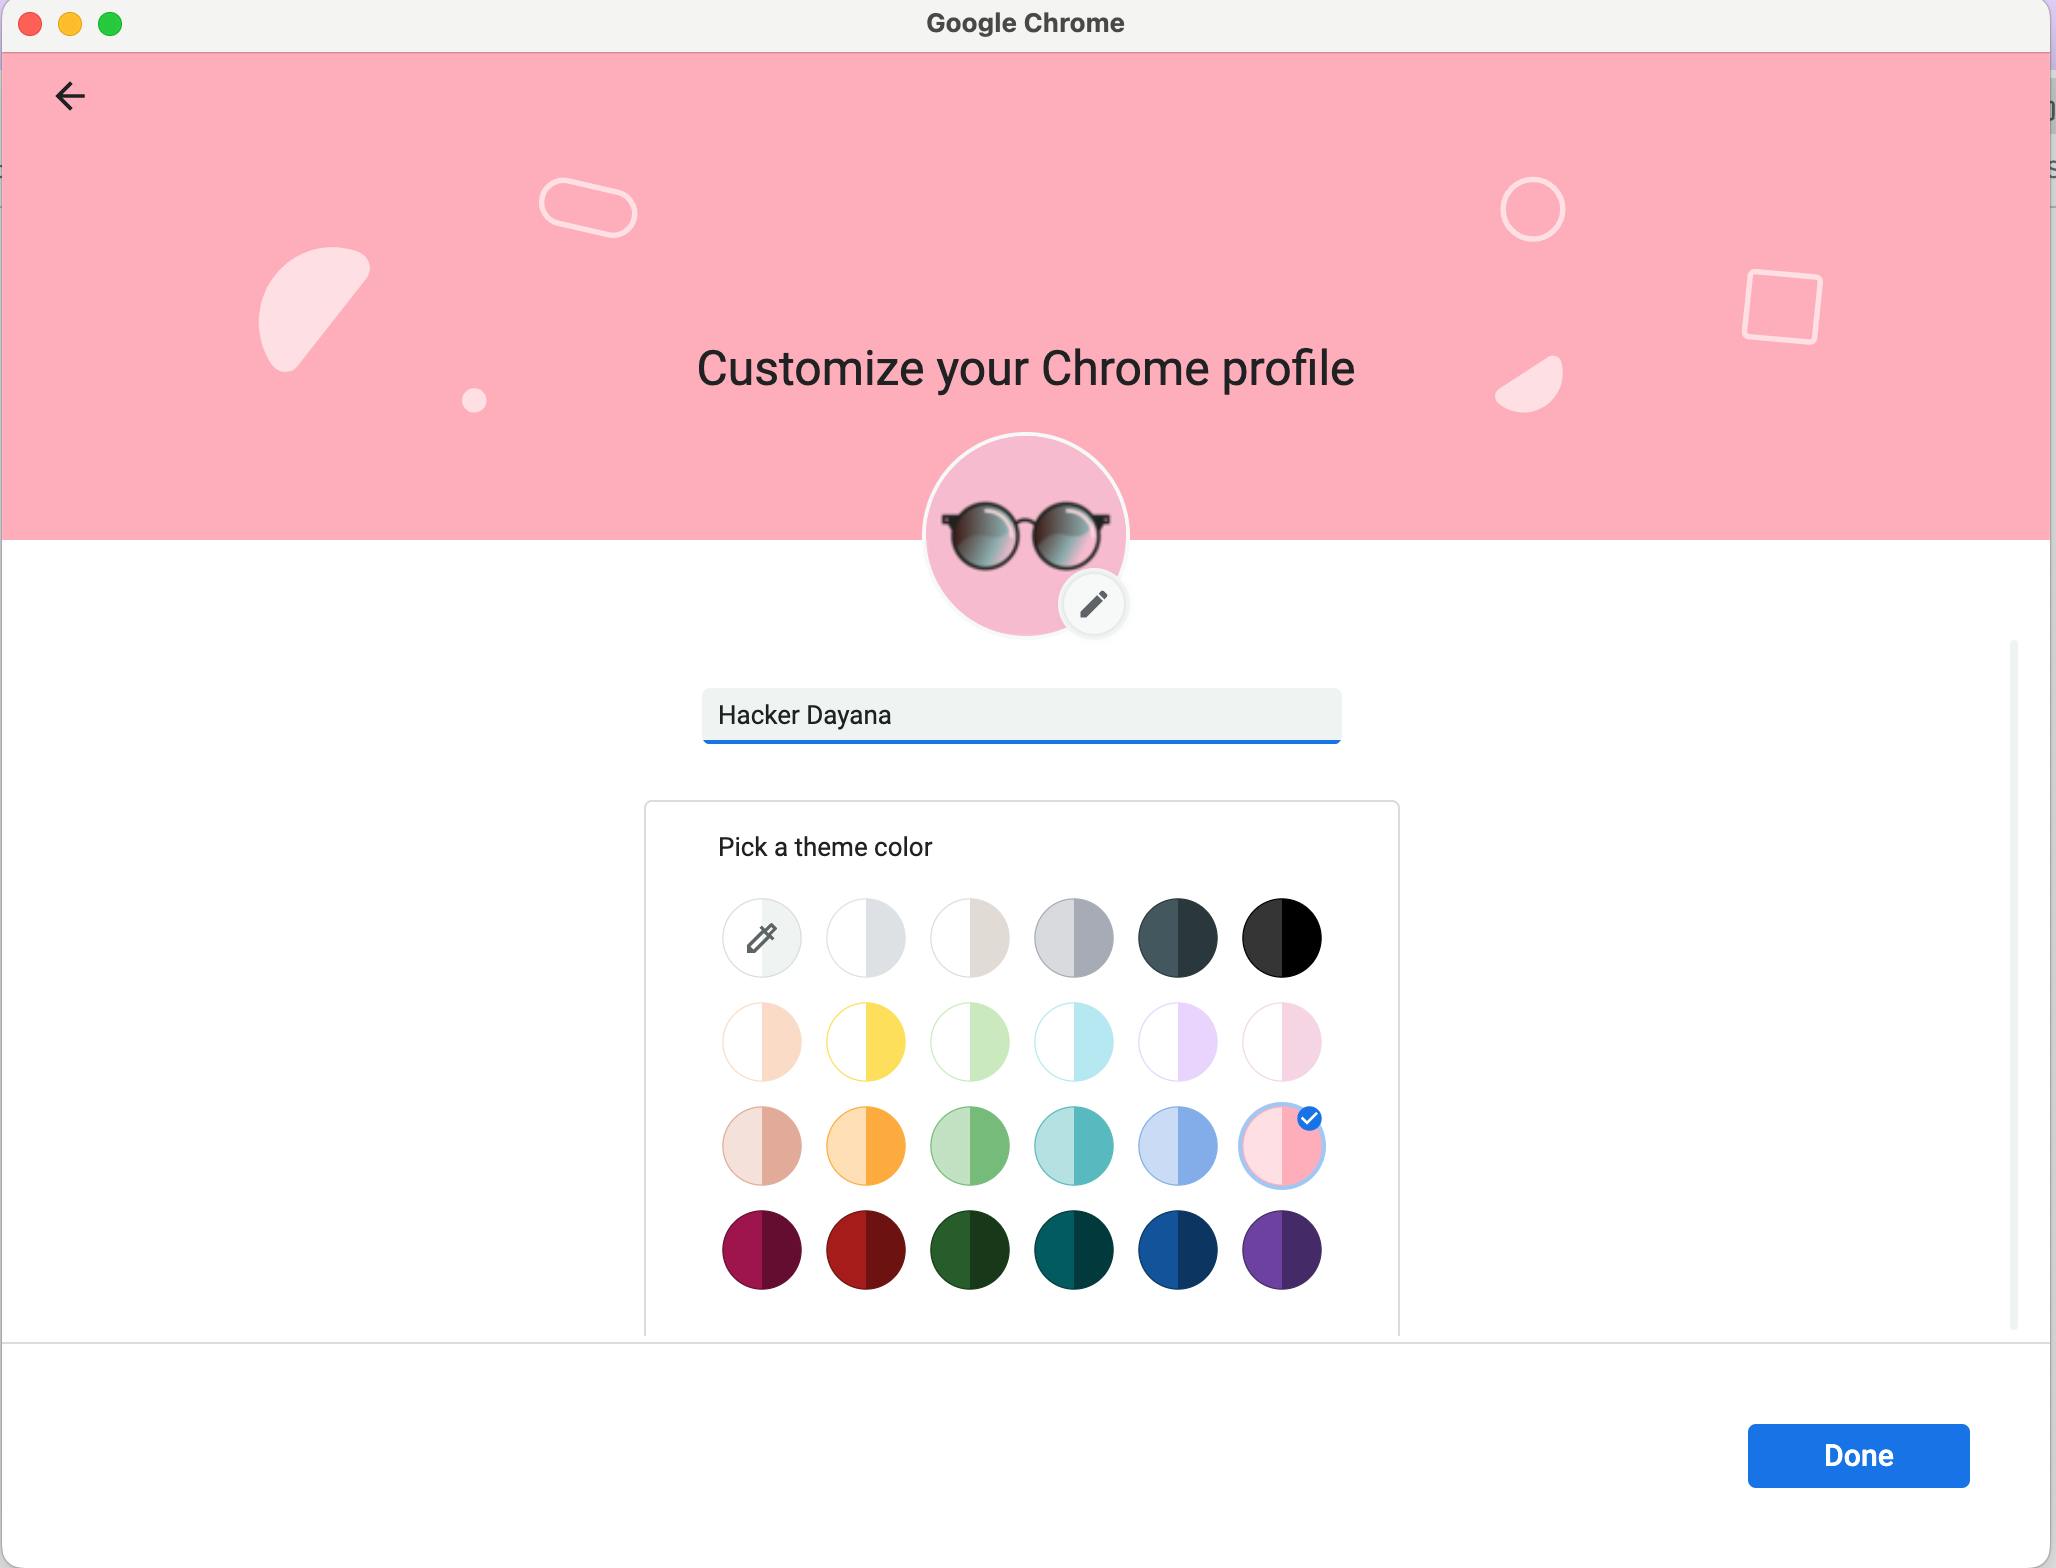
4) Congratulations! You have a new Chrome profile now!
Make Your Own Hacker Wallet
Let's now make a new Hacker Wallet on MetaMask. Because this is a blank slate, we must first download MetaMask.
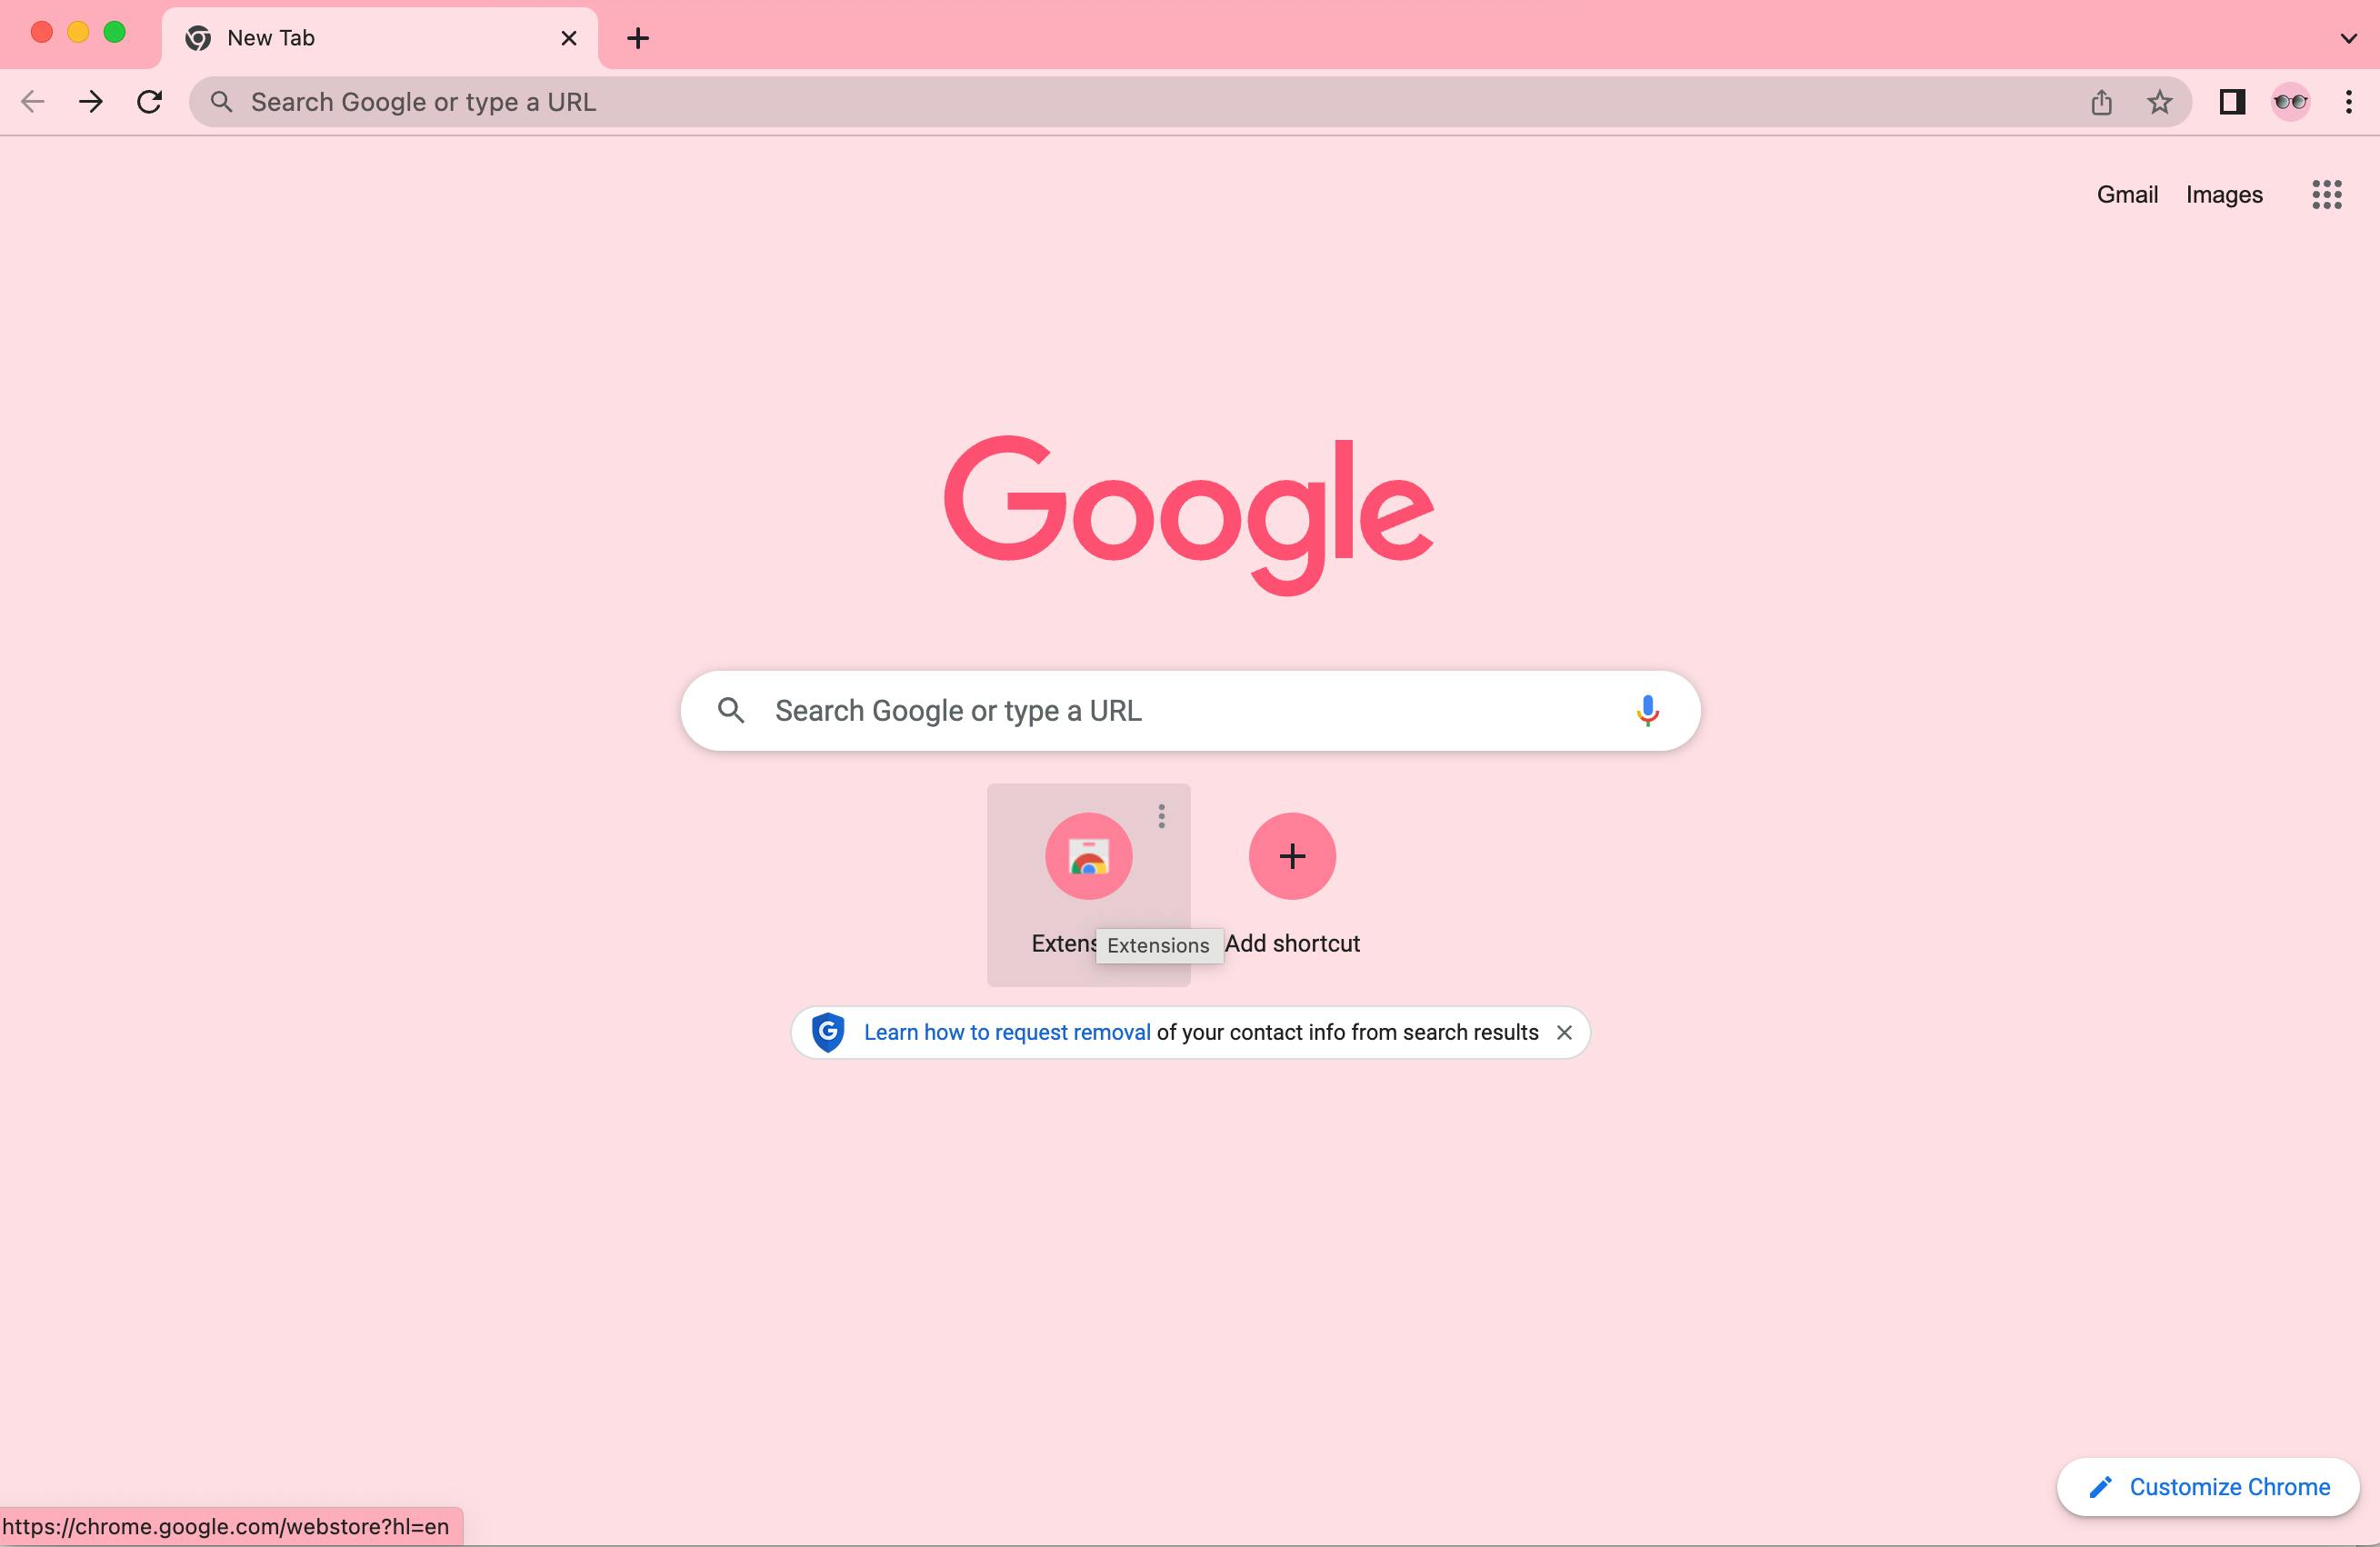
1) Click the "Extensions" icon, then type MetaMask into the search bar.
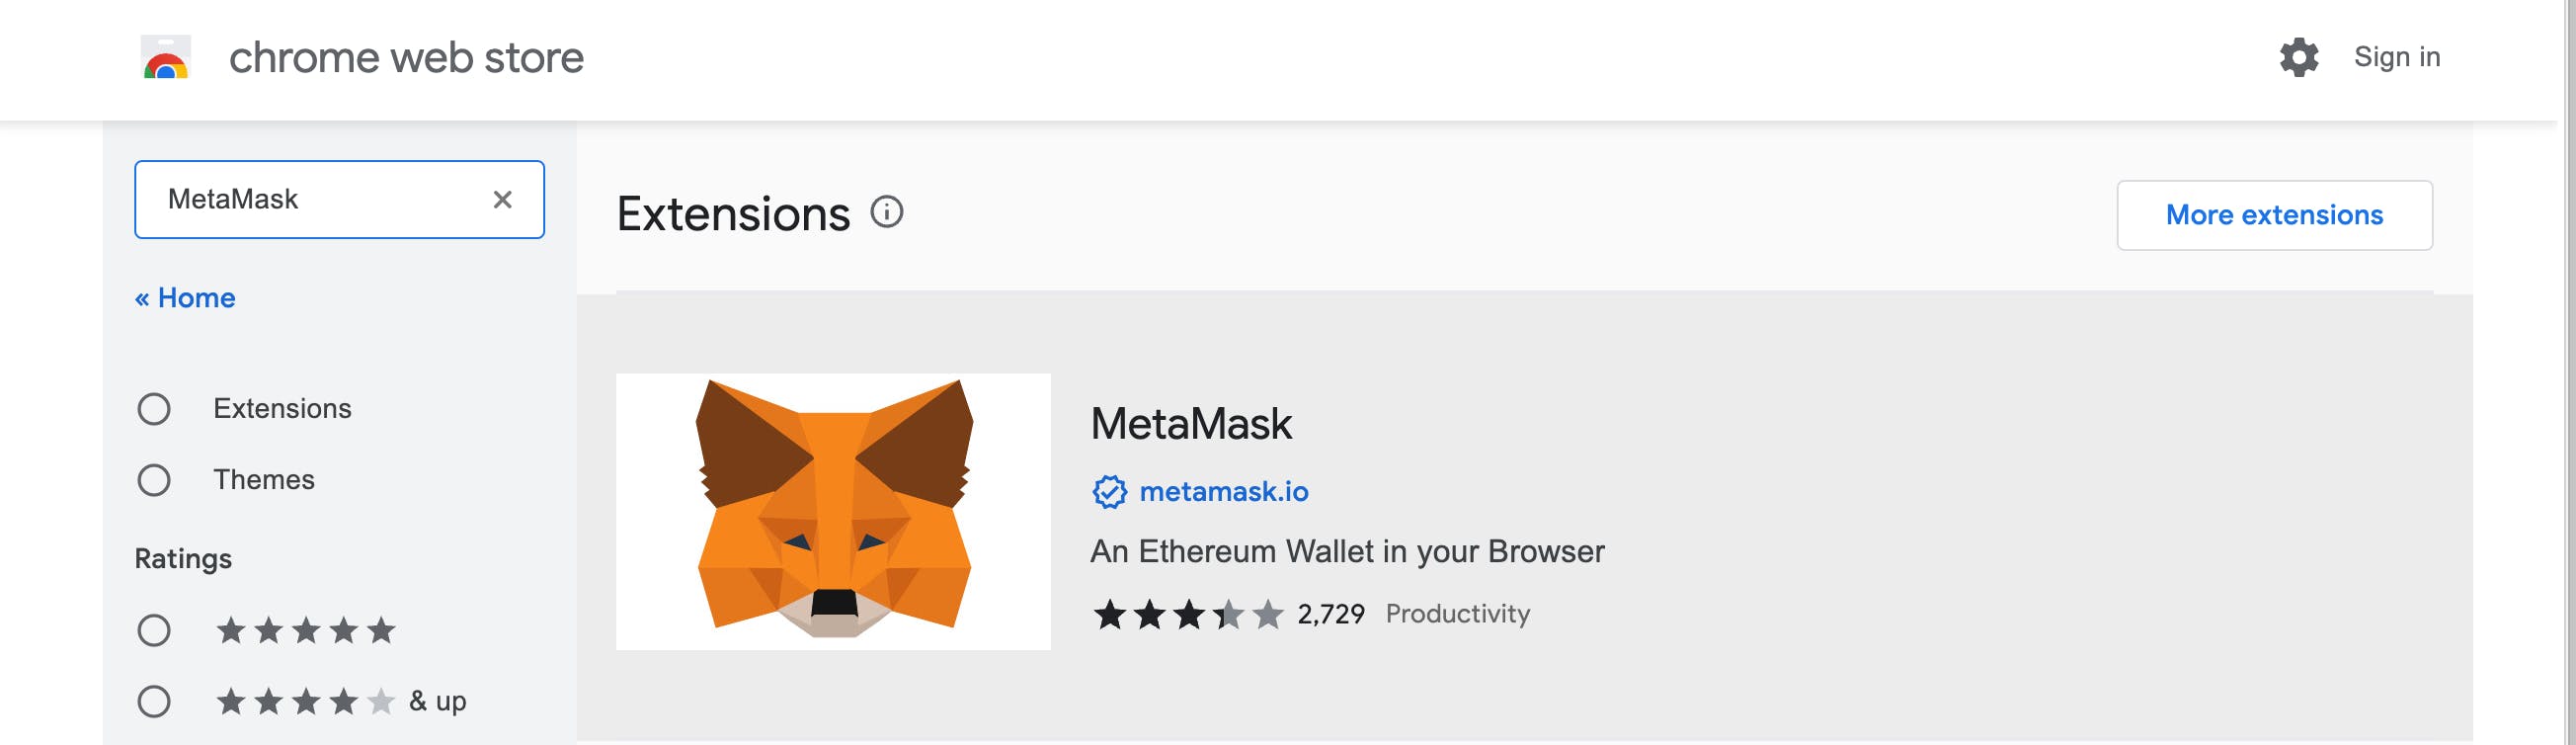
2) Choose MetaMask and then click "Add To Chrome."

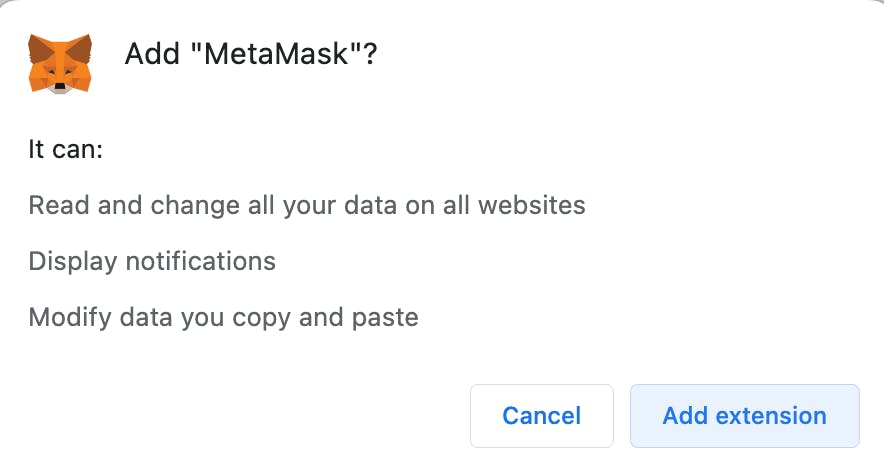
3) Add extension.
4) Get started.
5) Create a wallet.
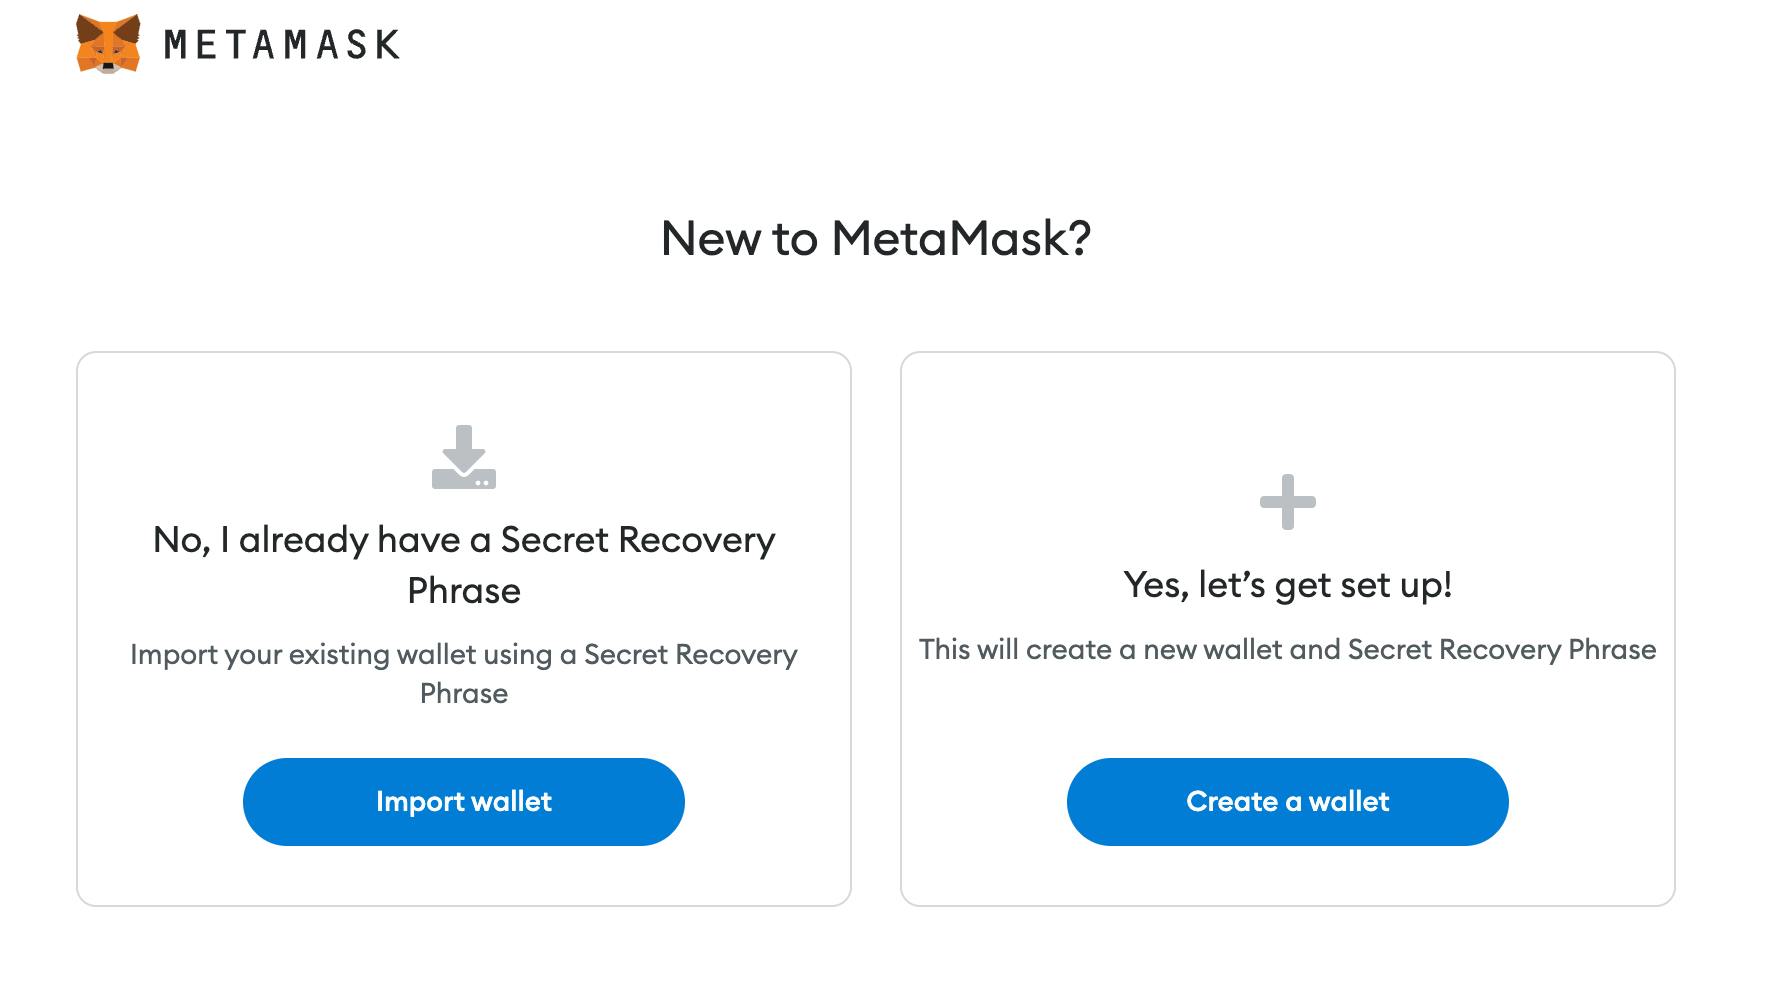
6) Follow all of the steps and remember to save your password and mnemonic phrase in your notes app!
It's usually a bad idea to save your mnemonic phrase in your notes app, but since this is our hacker wallet and it will only contain fake ETH or some other fake crypto, it doesn't matter if anyone finds out.
Create A DApp Using HardHat & Set Environment Constants
Now that we have everything we need, let's create a DApp like we'd do at an ETHGlobal hackathon!
Protecting your private key & mnemonic is a combination of using a .gitignore file , a .env file, and the dotenv dependency in your project.
In these steps I start from the very beginning with creating a hardhat project. If you already know how to do this, skip to step 6.
1) Launch your preferred command-line interface or terminal.
I run Mac OS X and prefer to use iTerm2.
2) mkdir a new directory. Then, cd into your new directory.
mkdir dapp-example
cd dapp-example
**3) Inside the folder, initiate the yarn package manager. **
If you don't have yarn, you can download it by following the steps specified here.
yarn init
Following that, you will be asked some questions. Simply pressing "return" multiple times will answer the questions with a default answer.

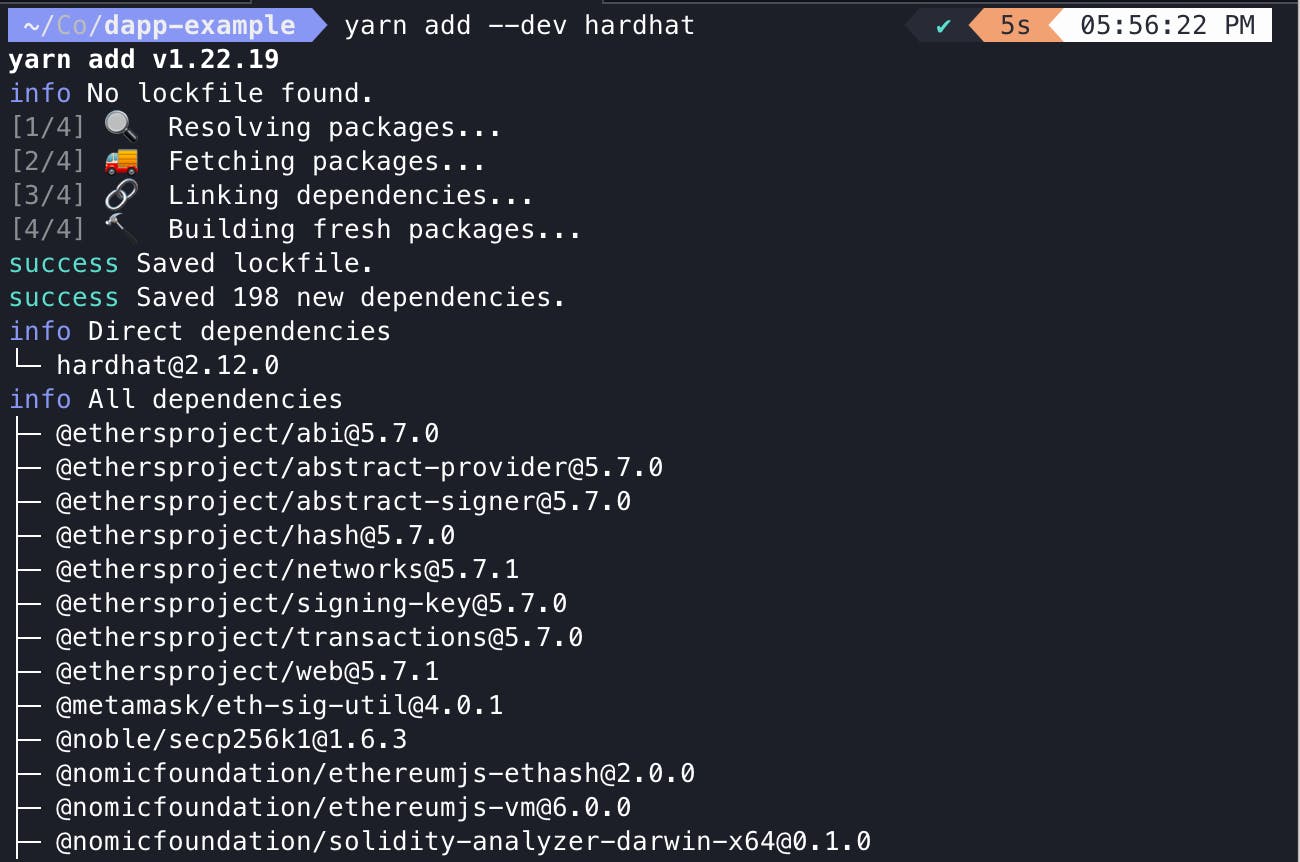
4) Add HardHat as a development dependency.
yarn add --dev hardhat
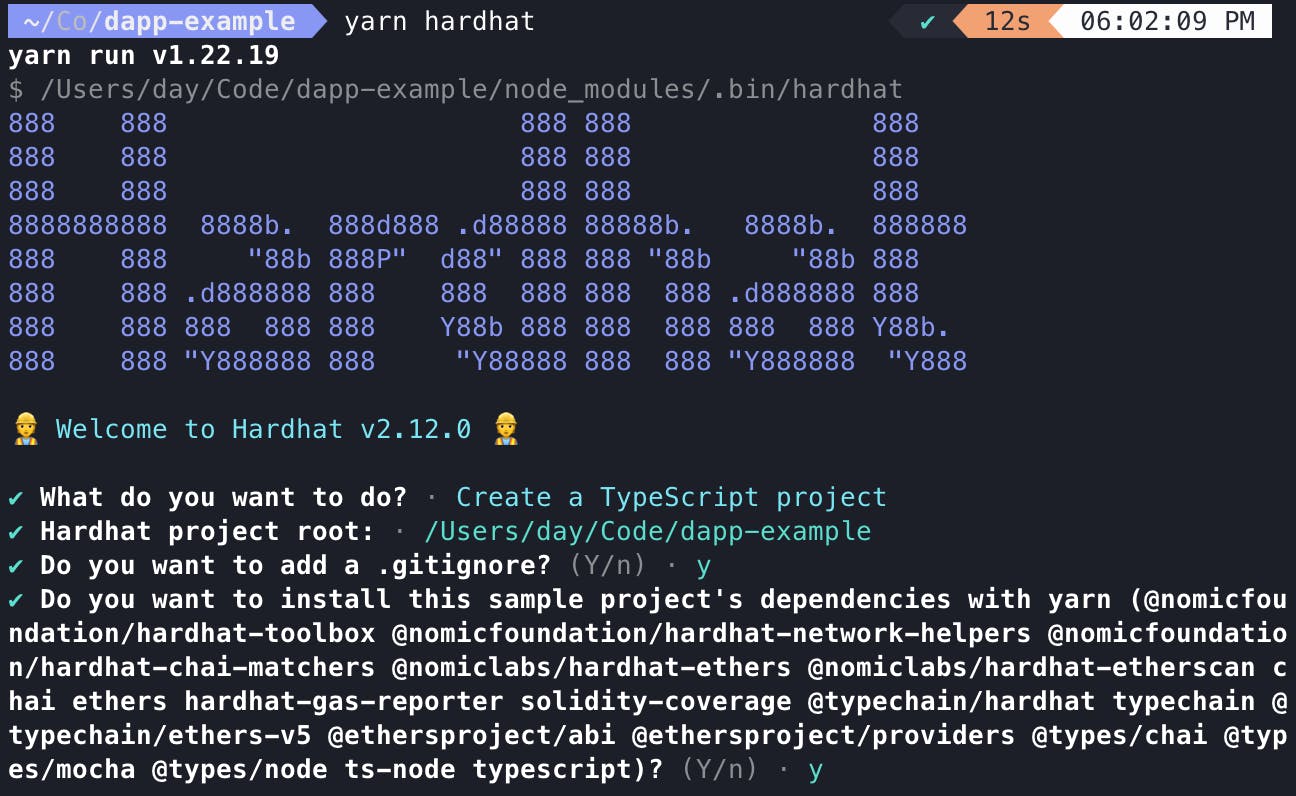
5) Make a HardHat Project.
yarn hardhat
You will now be asked some additional questions. I will show you my preferences, but you are not required to choose the same options as me. Choose whatever you prefer! I chose to create a TypeScript project and then answered 'y' to all other questions.
6) Create a .env File
touch .env
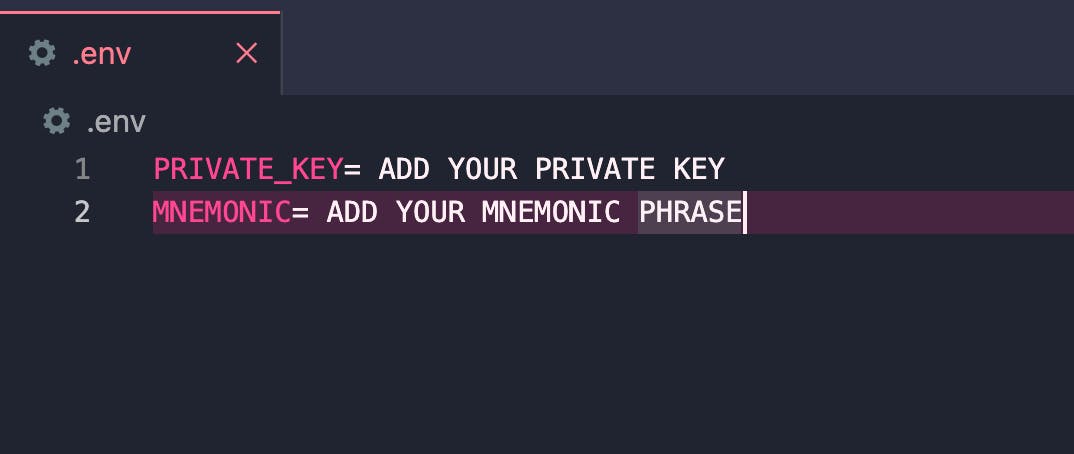
What is a .env file? A simple text file to which we add all of our application's environment constants. We will include our mnemonic phrase and private key in this file.
I usually only use my mnemonic phrase because it grants me access to all of my accounts within my HardHat project. This allows me to test my Smart Contract(s) with multiple accounts to be able to simulate real-world scenarios.
A private key will only allow me to access one account. But you can add both just so that you have them available.
**7) Open your HardHat project in your preferred IDE (I prefer Visual Studio Code). **
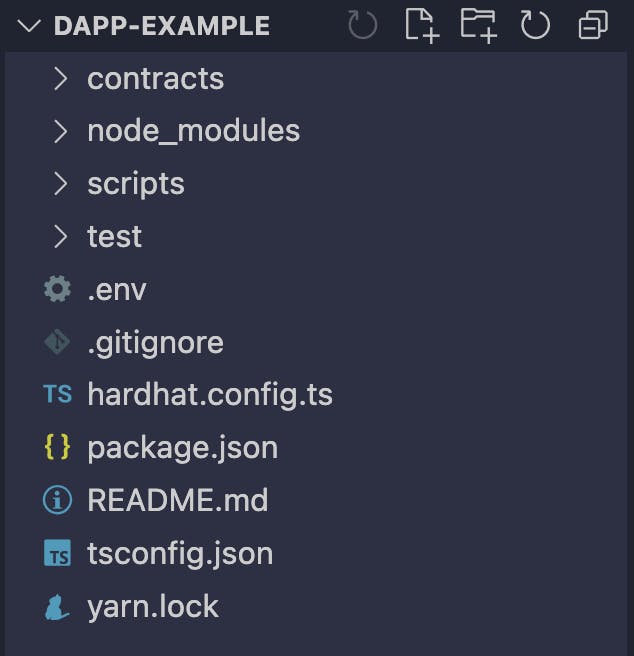
All of these files should be located inside your "dapp-example" folder.
8) Examine the .gitignore file.
When we created a HardHat project, it generated a .gitignore file for us.
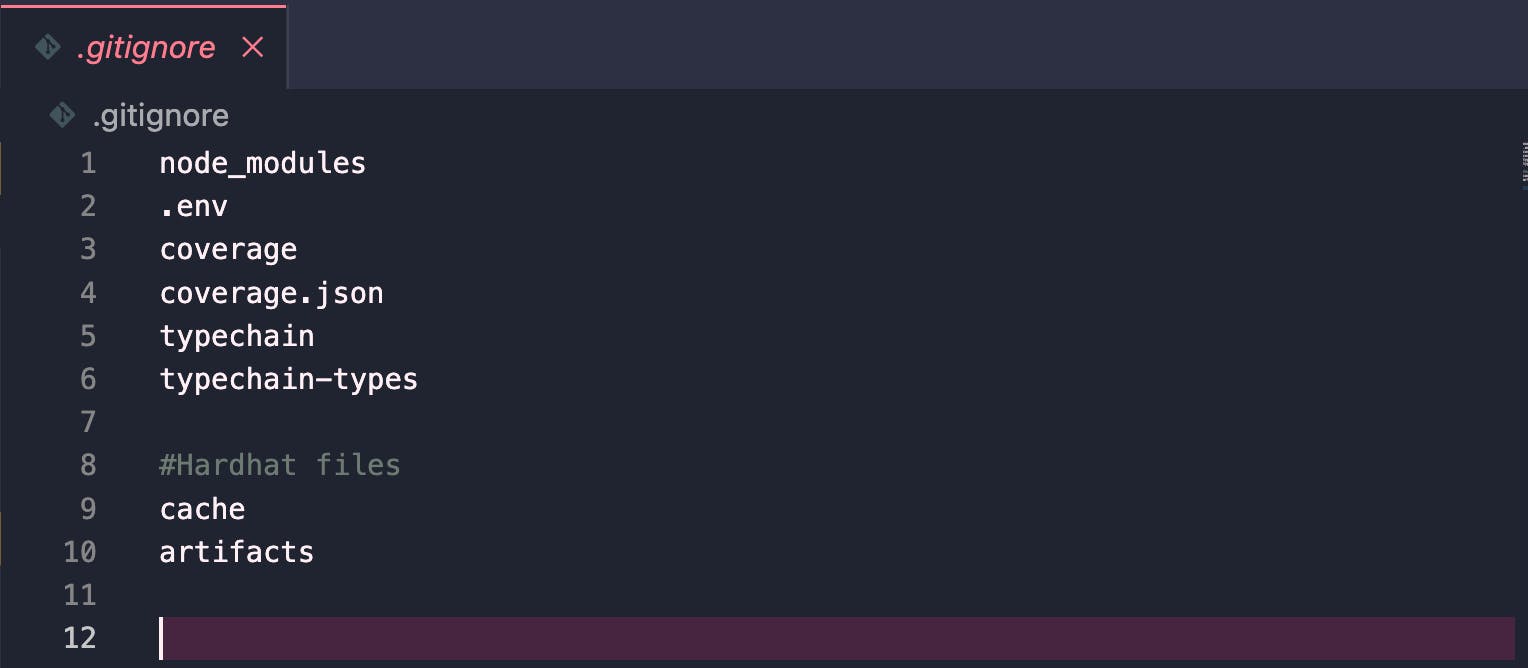
Everything we specify in this file will be ignored, and git will not track changes to these files. This means that none of these files will be uploaded to GitHub when we push. It will only stay on our machine.
The .env file we created earlier is included in this .gitignore. Our secret information, such as our mnemonic phrase and private keys, will be stored in the .env file so this information will not be uploaded, and we will not inadvertently expose our secrets!
9) Open the .env file
Create constant variables for your PRIVATE_KEY & MNEMONIC
For this example, I'm only including the essentials, but my .env files typically look like this:
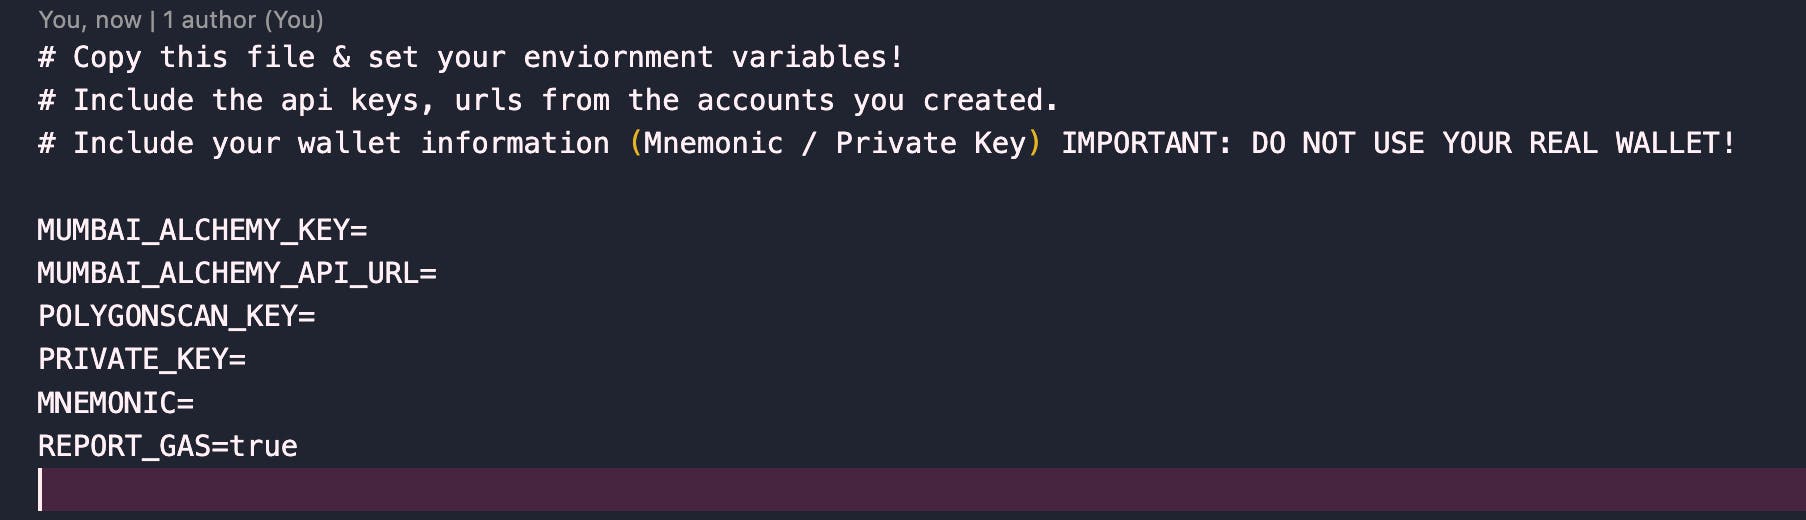
This file can be used to store all of your secrets, such as API keys.
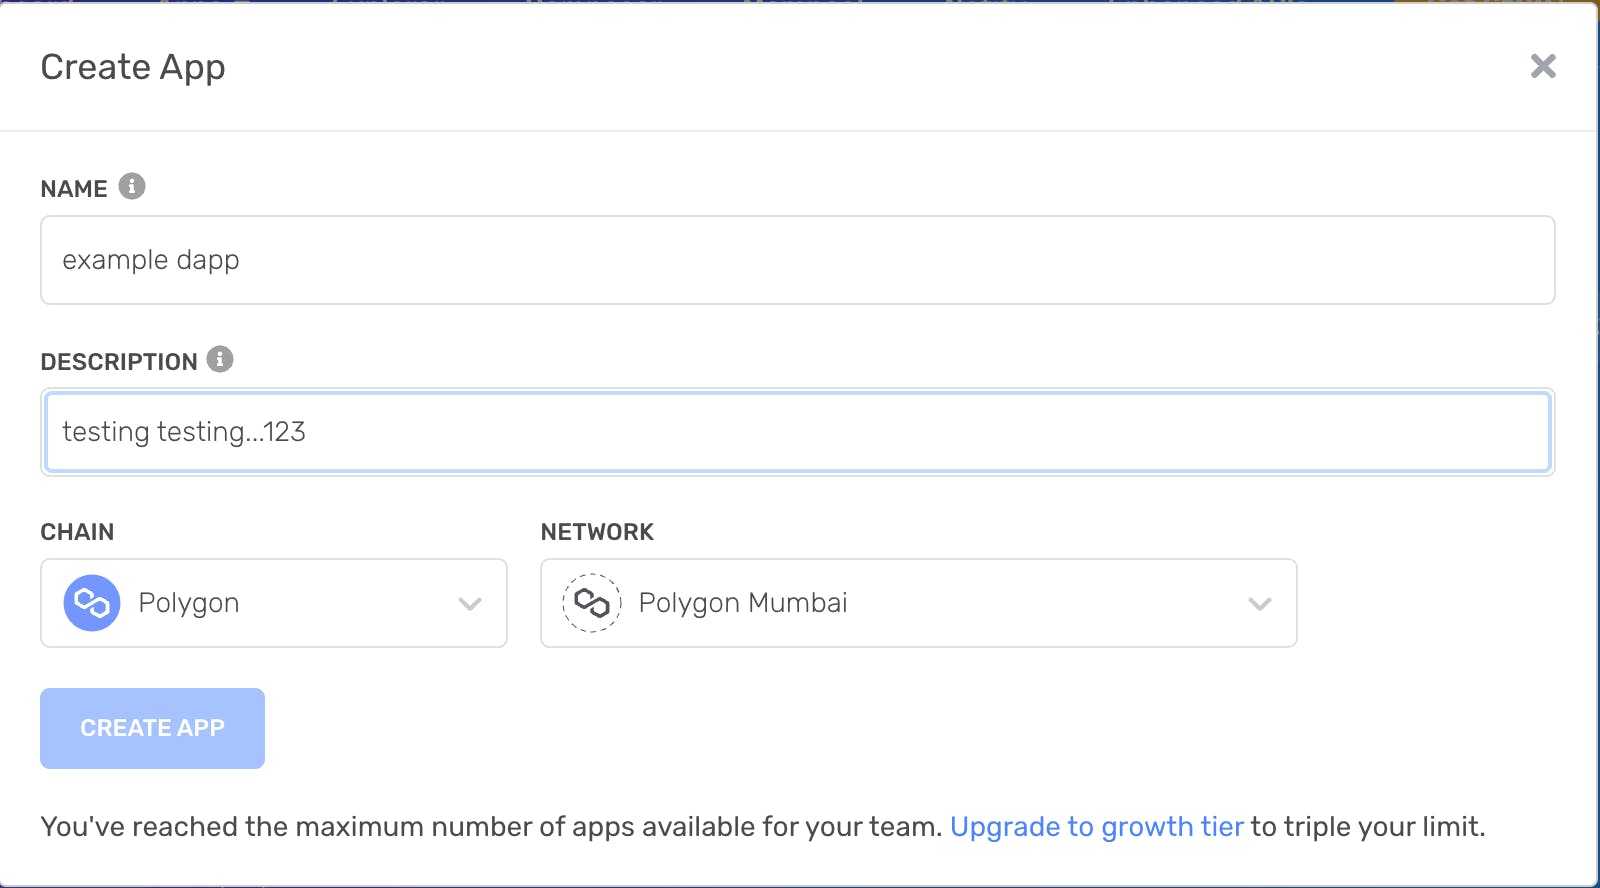
10) Create an Alchemy account & then create an app
We'll need a Node Provider API Key to deploy our smart contract, so we'll do that next.
Alchemy is my preferred Node Provider, but there are others available such as Infura, Quick Node, and Pocket Network.
11) Click on your newly created app and then on "View Key." Copy the HTTPS API Key and paste it into your .env file as a constant variable.
The image below shows what you should see if you click on "View Key."

We now include it as a new variable in our .env file, alongside our private key and mnemonic variables.

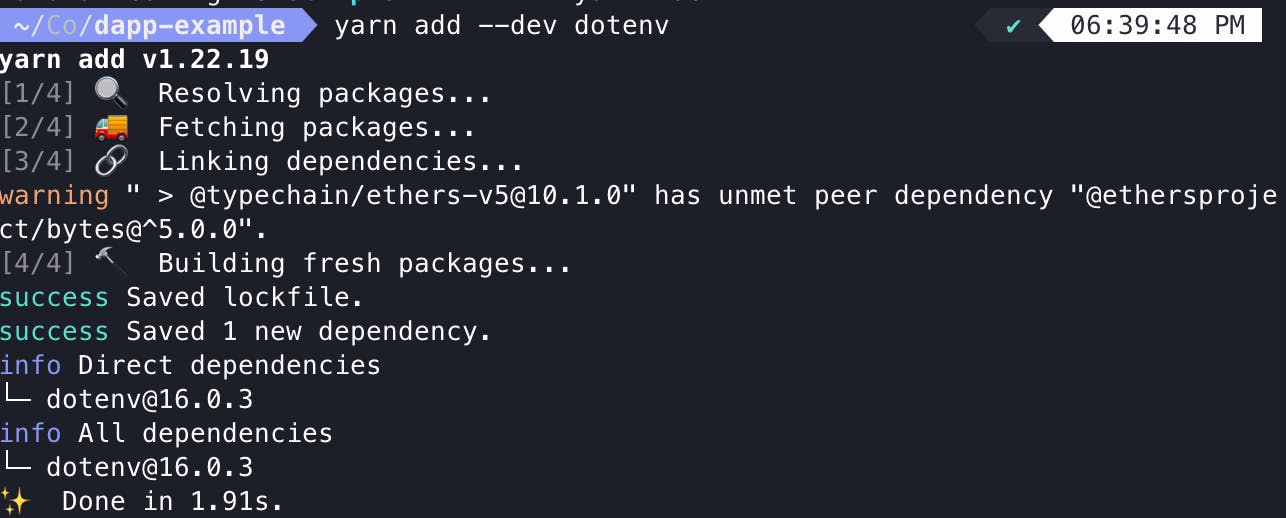
12) Add dotenv as a development dependency.
yarn add --dev dotenv
13) Open hardhat.config.ts
Your HardHat configuration file should be somewhat empty. We need to set it up so that it looks like this:
import { HardhatUserConfig } from "hardhat/config";
import "@nomicfoundation/hardhat-toolbox";
import "dotenv/config";

const config: HardhatUserConfig = {
  solidity: "0.8.17",
  defaultNetwork: "mumbai",
  networks: {
    hardhat: {
      chainId: 1337,
    },
    mumbai: {
      url: process.env.MUMBAI_ALCHEMY_API_URL,
      accounts: {
        mnemonic: process.env.MNEMONIC,
      },
      gas: 2100000,
      gasPrice: 8000000000
    }
  }
};

export default config;
At the top of our file, we have import "dotenv/config";. This enables us to access our environment variables from within our TypeScript file such as the 'hardhat.config.ts' file. Anytime we want to access our environment variables, we must add this dependency to our file.
I set up this configuration file to deploy to Polygon Mumbai. However, you can change it to deploy to Ethereum or any EVM-compatible blockchain network.
14) Check that the scripts/deploy.ts file looks like this:
import { ethers } from "hardhat";

async function main() {
  const currentTimestampInSeconds = Math.round(Date.now() / 1000);
  const ONE_YEAR_IN_SECS = 365 * 24 * 60 * 60;
  const unlockTime = currentTimestampInSeconds + ONE_YEAR_IN_SECS;

  const lockedAmount = ethers.utils.parseEther("0.001");

  const Lock = await ethers.getContractFactory("Lock");
  const lock = await Lock.deploy(unlockTime, { value: lockedAmount });

  await lock.deployed();

  console.log(`Lock with 1 ETH and unlock timestamp ${unlockTime} deployed to ${lock.address}`);
}

// We recommend this pattern to be able to use async/await everywhere
// and properly handle errors.
main().catch((error) => {
  console.error(error);
  process.exitCode = 1;
});
The only difference should be on line 8, where I changed the lockedAmount from 1 to 0.001. This is because we don't want to spend too much money on deployment.
15) Compile & deploy!
yarn hardhat compile
yarn hardhat run scripts/deploy.ts

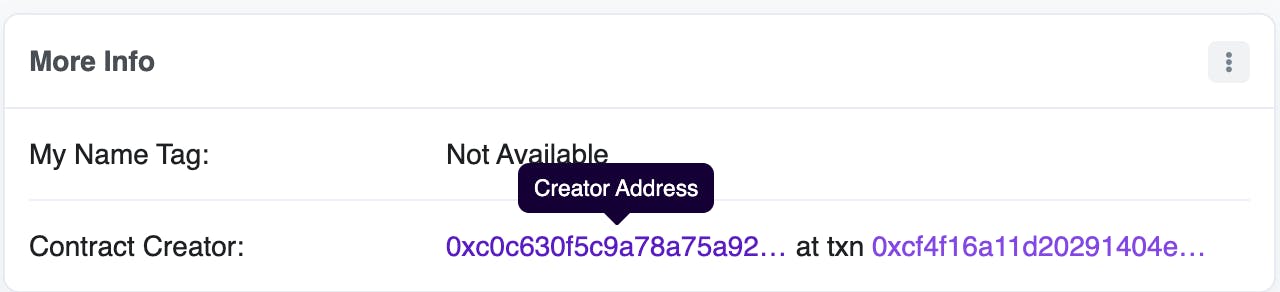
My contract was successfully deployed to the Mumbai test network! You can find it here: mumbai.polygonscan.com/address/0x292f8016D4..
You should notice that the contract's creator is your "Account 1" Address. So you used your "Account 1" Address to deploy this contract.
**16) Push to GitHub! **
Create a "New Repository" called 'dapp-example' on GitHub & copy + paste the following into your terminal. Make sure to replace the URL with your GitHub username.
echo "# dapp-example" >> README.md
git init
git add .
git commit -m "first commit"
git branch -M main
git remote add origin https://github.com/<YOUR GITHUB USERNAME>/dapp-example.git
git push -u origin main
17) Examine your Public GitHub Repo
You can see mine here, and you are welcome to fork and clone this repository for your use! You will see that the .env file was not uploaded so my wallet is safe!
Happy Hacking!
Thanks for reading & good job on learning something new. 💗
More About Hackathons
Hackathons are events where individuals from all over the world come to brainstorm, exchange ideas, code, design, pitch, and build together to solve problems they're passionate about with software & technology! Hackathons are a lot of fun because they allow you to be incredibly creative and create something that no one has ever seen before. What are you waiting for if you haven't already participated in one? Sign up for one now! I highly recommend the ETHGlobal Hackathons which take place throughout the year, both in-person and virtually.
Not a programmer? You don't have to be one! A common misconception is that you need to be a coder to participate in one; but, this isn't the case. There are several components other than code that go into creating a software product! Skills like UI/UX Design, Graphic Design, Music Production, Product/Project Manager, Writing, Public Speaking, Having great ideas, and much more!
Are you a woman or a non-binary person interested in hacking at a web3 hackathon in person? Make sure to check out H.E.R. DAO & H.E.R. DAO LATAM provide travel scholarships to attend hackathons all over the world! They not only provide scholarships but they offer education, mentorship, and community. You don't need to be a developer or an expert in web3 to apply or join! H.E.R. DAO is about onboarding anyone who is curious and wants to learn more about web3.